How To connect your Geeni camera to your WiFi network, first, ensure that your camera is powered on and ready for setup. Then, download the Geeni app from the App Store or Google Play Store and create an account if you haven’t already. Open the app and tap on the “Add Device” option. Select “Camera” from the list of devices and follow the on-screen instructions. Make sure your smartphone or tablet is connected to the WiFi network you want to use for the camera. Enter your WiFi network’s password when prompted, and wait for the app to connect your camera to the network. Once connected, you can customize settings and view the camera’s feed remotely through the Geeni app, providing you with peace of mind and added security for your home or office.

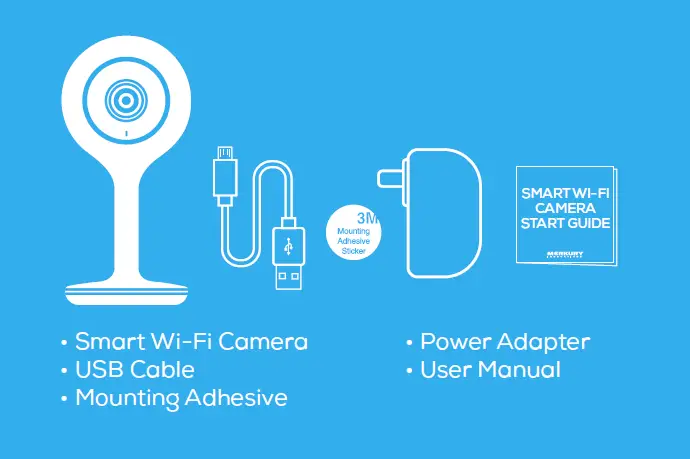
What’s in the Box Geeni camera ?
Download the Geeni app from App Store or Google Play

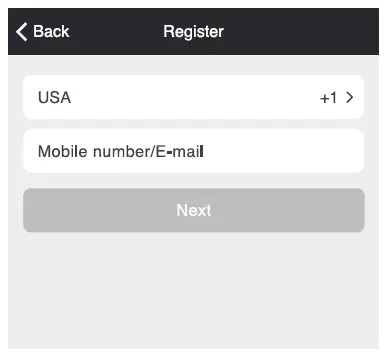
Register an account on your Geeni app
STEP 1:Enter your mobile phone number or email address.
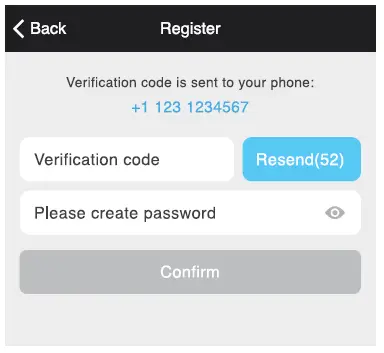
STEP 2:
Enter the verification code and create a password.
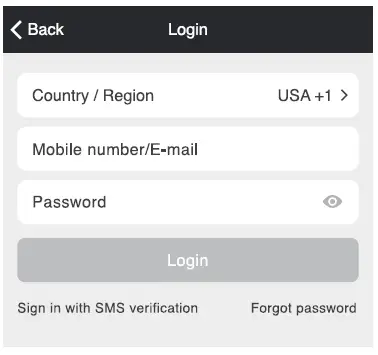
STEP 3:
Login to the App.
Plug In
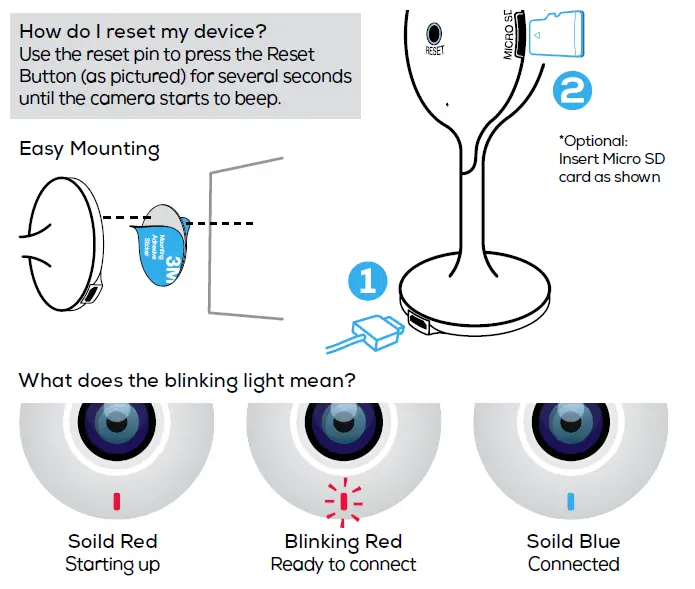
How do I reset my Geeni Camera device?
Use the reset pin to press the Reset Button (as pictured) for several seconds until the camera starts to beep.
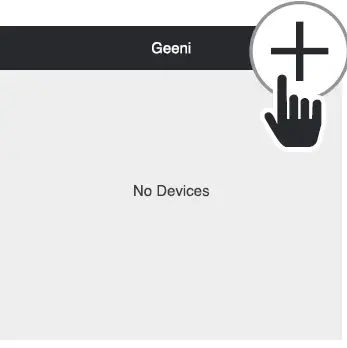
Add device. Method 1: Easy Mode
STEP 1:In the Geeni app, on the top corner of the Devices screen, click (+).
Choose “Video Camera“.
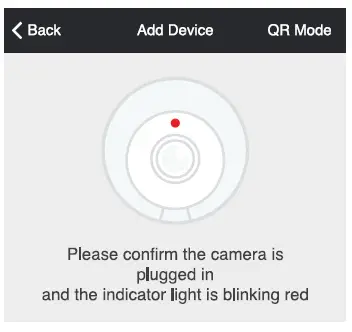
STEP 2:
Make sure the indicator light on the device is blinking Red, indicating the device is ready to connect. If not, follow instructions to Reset the device so that indicator light is blinking red,
then press “Next Step”.
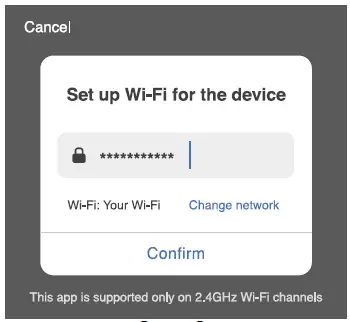
STEP 3:
Enter your Wi-Fi network and password.
STEP 4:
The Geeni app will try to connect your device.
During this time, the camera will beep, continue blinking Red, and then turn solid Blue.
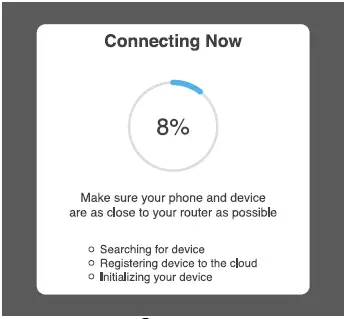
*If the connection fails, try to reset and connect directly using QR Code Mode.

