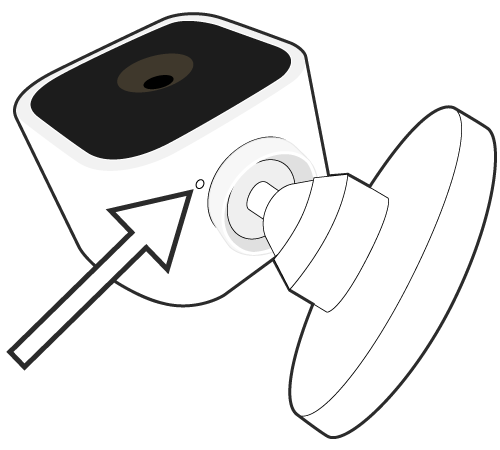
How To Find Blink Mini Reset Button
The Blink Mini reset button serves as a crucial feature for troubleshooting and maintenance. When encountering connectivity issues or other technical glitches, pressing the reset button can often resolve the issue by restoring the camera to its default settings. This small yet powerful button is located on the bottom of the device, easily accessible for users. With a simple press and hold, users can initiate the reset process, which clears any previous configurations and reverts the camera to its initial state. Whether it’s addressing network disruptions or restoring functionality after firmware updates, the Blink Mini reset button offers users a quick and effective solution to keep their surveillance system running smoothly.

The Blink Mini Reset Button on the bottom side of the camera. Blink Mini Reset Button can be used when you add your Mini to a new or existing Blink system or when you move your Mini to a new location or Wi-Fi network.
A red light on the Mini indicates that the camera is not connected to the internet. If your Wi-Fi router is functioning properly, then reconnect it to your Wi-Fi network.
Blink Mini Reset Button while the Mini is plugged in. We recommend using either a paperclip or small screwdriver (not safety pins or thumbtacks) to reset the camera.
When a Mini displays a solid red light, a long press of the reset button (more than 5 seconds) will reset the camera and enter setup mode.
When blue light slowly blinks, the camera is ready to be added to a system.
Resetting the Mini does NOT:
-
- Reset camera settings to defaults
-
- Remove the thumbnail image
-
- Delete the camera from a system or account
